ENDA Episode 156→ The time when ENDA tells a little secret called: Filtering (Part 1)
Different filters offer different types of image handling, depending on the quality or behavior we need. Some preserve sharpness. Others help with blending. It all depends on what the shot demands.

Ever wondered why your clean plate looks lower quality by the end of your comp?
Why your elements still don’t sit right, even when you’ve nailed the colour match, edges, and tracking?
Or what those weird little artifacts are that just won’t go away?
There could be dozens of answers to those questions. And depending on the situation, many of them might be valid.
But today, I want to talk about one answer in particular. One that blew my mind while training under the Dark King of VFX.
That answer… is something called: Filtering.
Now, your first thought might be a social media filter. Or maybe some grain or lens stock footage you slap at the end of a shot to make it “pop.”
But this is something else.
Let’s go visit an old friend: the Transform node.
Or really, any node that involves spatial transformations: like Reformat, CornerPin, or even STMaps.
There, tucked away in a dropdown menu, you’ll see a word next to it: Filter.
Most of us ignore it. We’re just using the node to move stuff around, right?
And by default, it’s usually set to Cubic. So we leave it be.
But here’s the kicker:
Change that dropdown… and you’ll notice your pixels shift, especially around the edges.
So… what are these filters?
In simple terms:
They’re algorithms that remap pixel values when we move, distort, or resize an image.
Some filters (like Cubic, Notch, or Parzen) are designed to soften edges and smooth out pixel transitions. Others, like Impulse, don’t interpolate at all. They give you sharp, untouched edges, but with the risk of introducing aliasing or harsh detail.
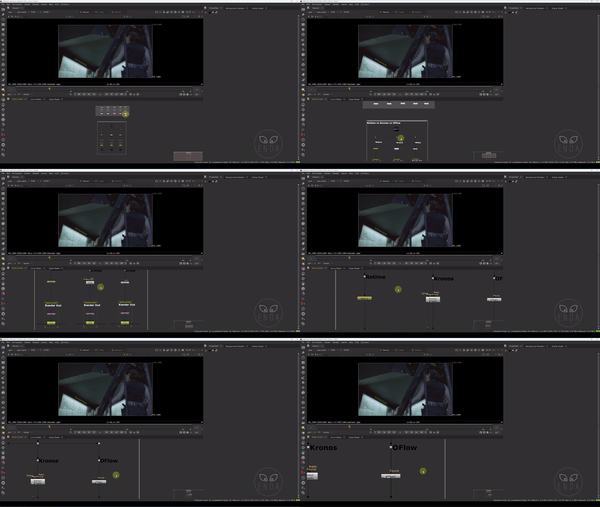
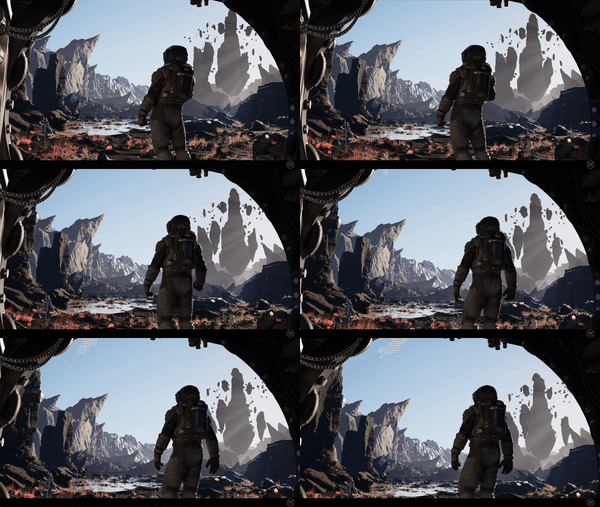
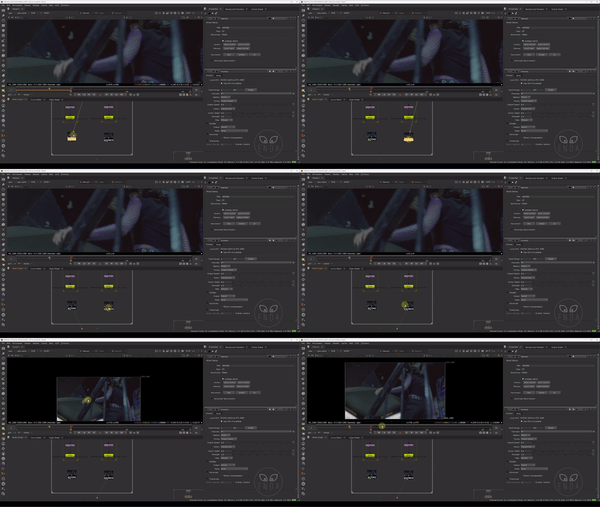
Check the video below for an example. You’ll see the difference on the fingers of The Mask… and it becomes even more obvious when applied to a checkerboard pattern.
So why do these filters even exist?
Control of the image.
Different filters offer different types of image handling, depending on the quality or behavior we need. Some preserve sharpness. Others help with blending.
It all depends on what the shot demands.
But now here’s the twist...
What if you try all the filters and you still get artifacts?
What if your comp quality keeps degrading no matter what?
Well… let’s just say there’s a trick involving a sandwich.
But that’ll be for another episode.
So stay tuned!
The journey continues…


Comments